PingPlotter Cloud Manual
Getting Started
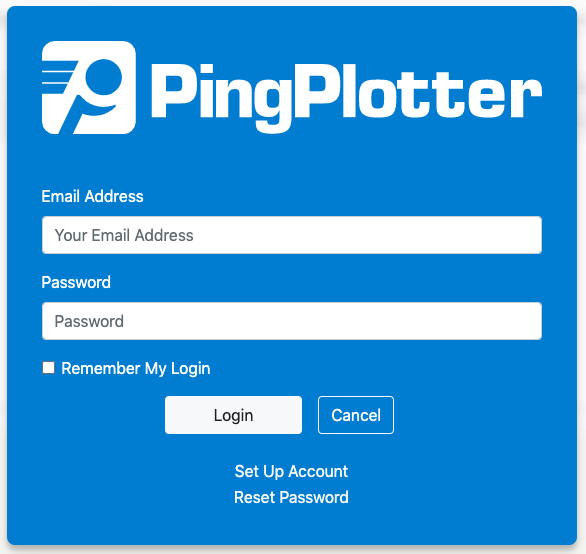
You can access PingPlotter Cloud by navigating to https://pingplotter.cloud. Log in to the interface by using your Pingman Tools account credentials (or if an administrator has created a user account on your behalf, you'll use those credentials).
If it's your first time logging in, click the Set Up Account link, enter your email address, and temporary login credentials will be sent to you. If you have an account but don't know your account credentials, you can click the Reset Password link, enter your email address, and a password reset email will be sent to you.
Setting up your first Agent
When first logging into PingPlotter Cloud after purchasing, you will be greeted with your Dashboard and a quick guide on creating your first Agent.
To create an Agent go to the Agents page from the left-sidebar. Then select Create Agent. Give this Agent an easy to remember name and hit Create.
The Installer Link will have instructions on downloading and installing the Agent. Send this to person who needs to install the Agent. As this is your first Agent, we recommend installing it on your machine so that you can become familiar with this process before having somebody else do it. Use the Download button to download the installer directly to your machine.
Once the install is finished and the Agent has connected with PingPlotter Cloud, no further action for the Agent is required. After installing your first Agent, you will be guided on creating your frist trace.
Note
The URL address for an Agent's Guided Installation page is unique - this can be shared with someone else, who can download that specific Agent.
Starting your first trace
Once your Agent is installed and connected, its status will change from pending to online. To add a trace, click on the Agent's name in the table and then select Agent Targets in the right-sidebar. This will take you to the Agent Summary page.
To start a trace, type the IP Address or hostname of the target in the Target Bar at the top where it says, "Enter target name or IP." Then hit Enter or click the green play button . The trace will drop down into the area below as a new row once it has started.
Exploring the data
Now that you have a trace going you'll be able to see the route your Agent is taking to get to the target. Click on the IP Address hyperlink to take you to the Target View.
On this page you'll see a row for each hop between your Agent's machine and the target. Off to the right you'll find the Latency Graph. At the bottom is the Timeline Graph.
You'll want to pay particular attention to the Timeline Graph. Look for packet loss (red bars) or high latency (black lines). When either show up, use the Insights button in the upper-right to find the culprit.
Common Workflows
Constant Monitoring
In this model, a PingPlotter Cloud Agent is installed on each device you'd like to monitor. At least 1 trace is running at all times. More can be added at a later time for further troubleshooting if necessary.
- Create any Agent Fields you'll need to better identify and organize your Agents.
- Create an Agent Template. Add your target to the Preset Target list. These will start automatically once the Agent is installed and online.
- Mass Deploy the Agent to each machine you'll be monitoring using your Remote Management tool. Or send the Installer Link to each individual.
- Use Quality Monitor to identify which Agent is currently having issues.
- When somebody reports an issue, navigate to their Agent and see if there were any network issues during that time.
- Use Insights to automatically analyze the last 24 hours of data and identify the culprit.
- Create a LiveShare to share your findings with the end user and whoever else might need them.
Ad-hoc Troubleshooting
If you're looking to troubleshoot issues as they arise, then this workflow should work well for you.
- When an issue is reported, create a new Agent and send the Installer Link to the end user.
- Once the Agent is online, add your traces.
- When you see high latency or packet loss, use Insights to analyze the data and identify the culprit.
- Create a LiveShare to share your findings with the end user and whoever else might need them.
- After the issue has been resolved, stop the traces and delete the Agent.