PingPlotter Cloud Manual
Agent Management
Under the Agents tab in the sidebar, you will find a list of every deployed Agent. This includes the ones deployed using a template. Here you can sort Agents and see how many are deployed or pending, along with their installation type and a list of their active trace sessions.
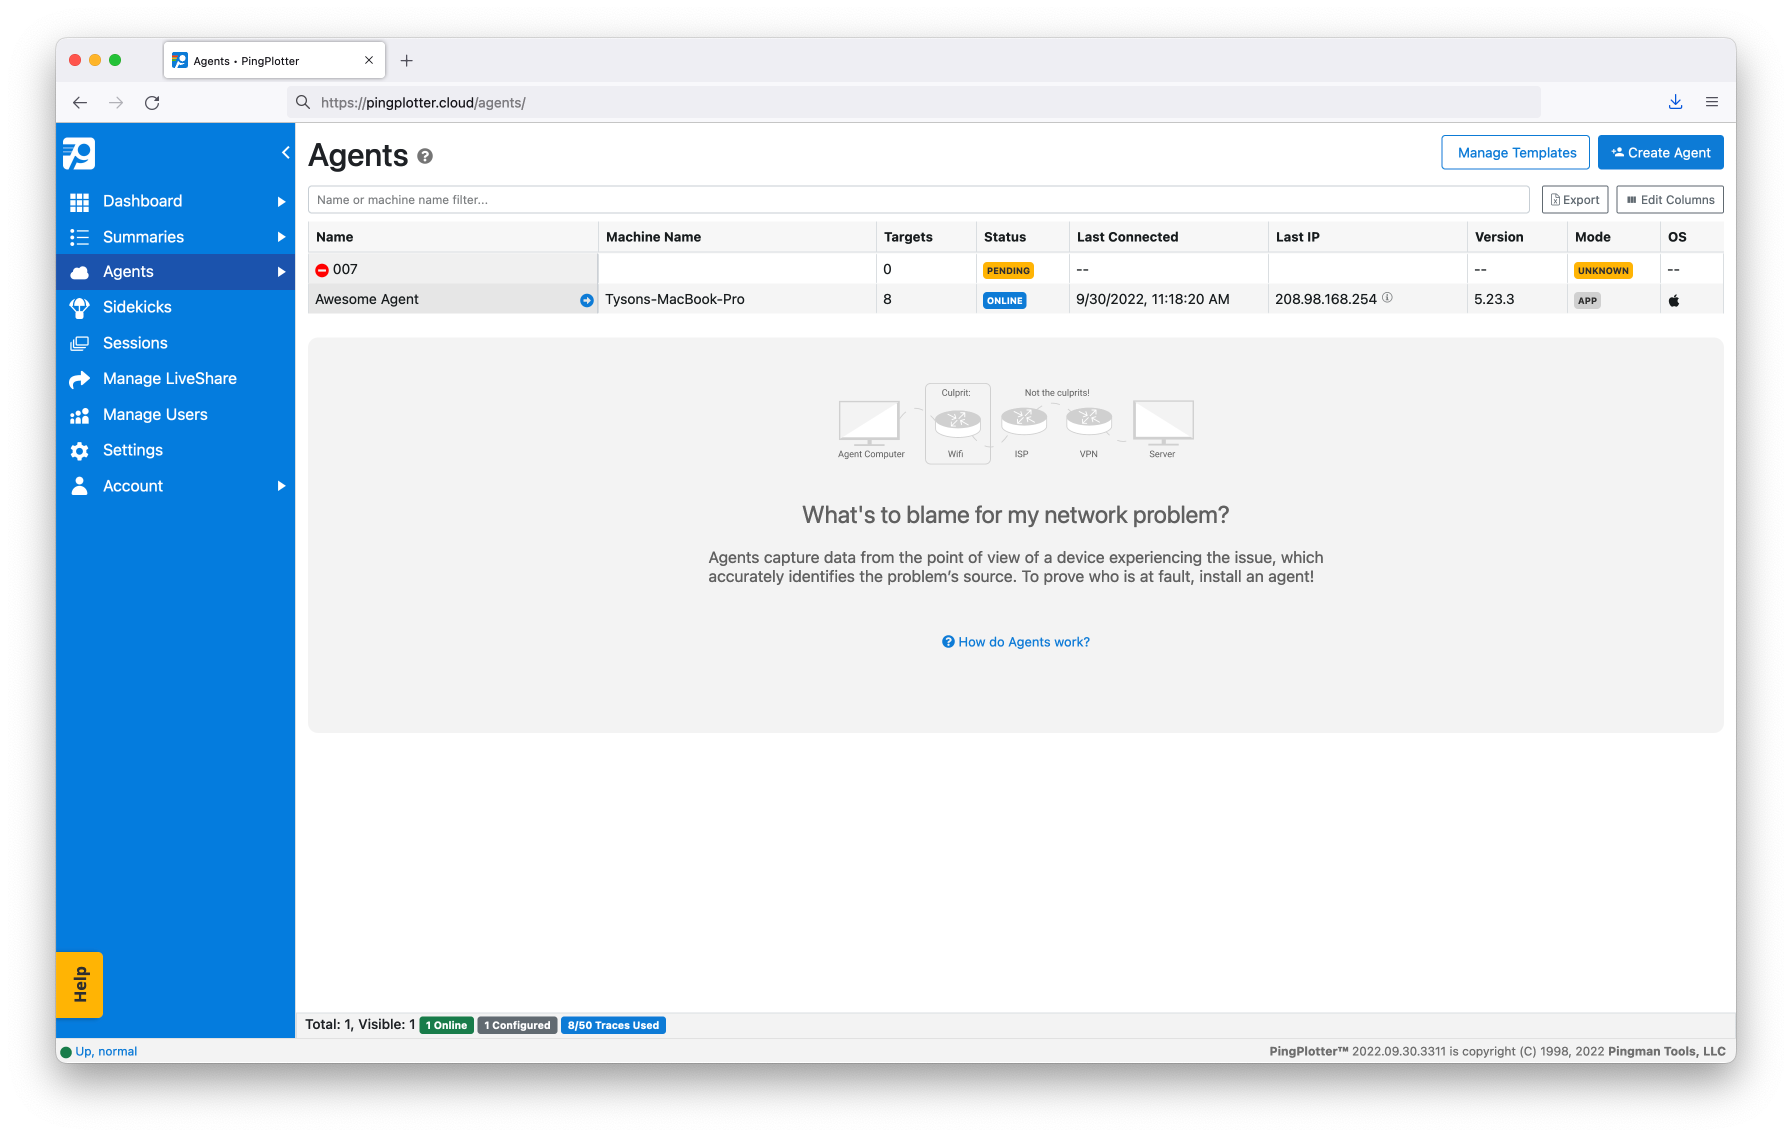
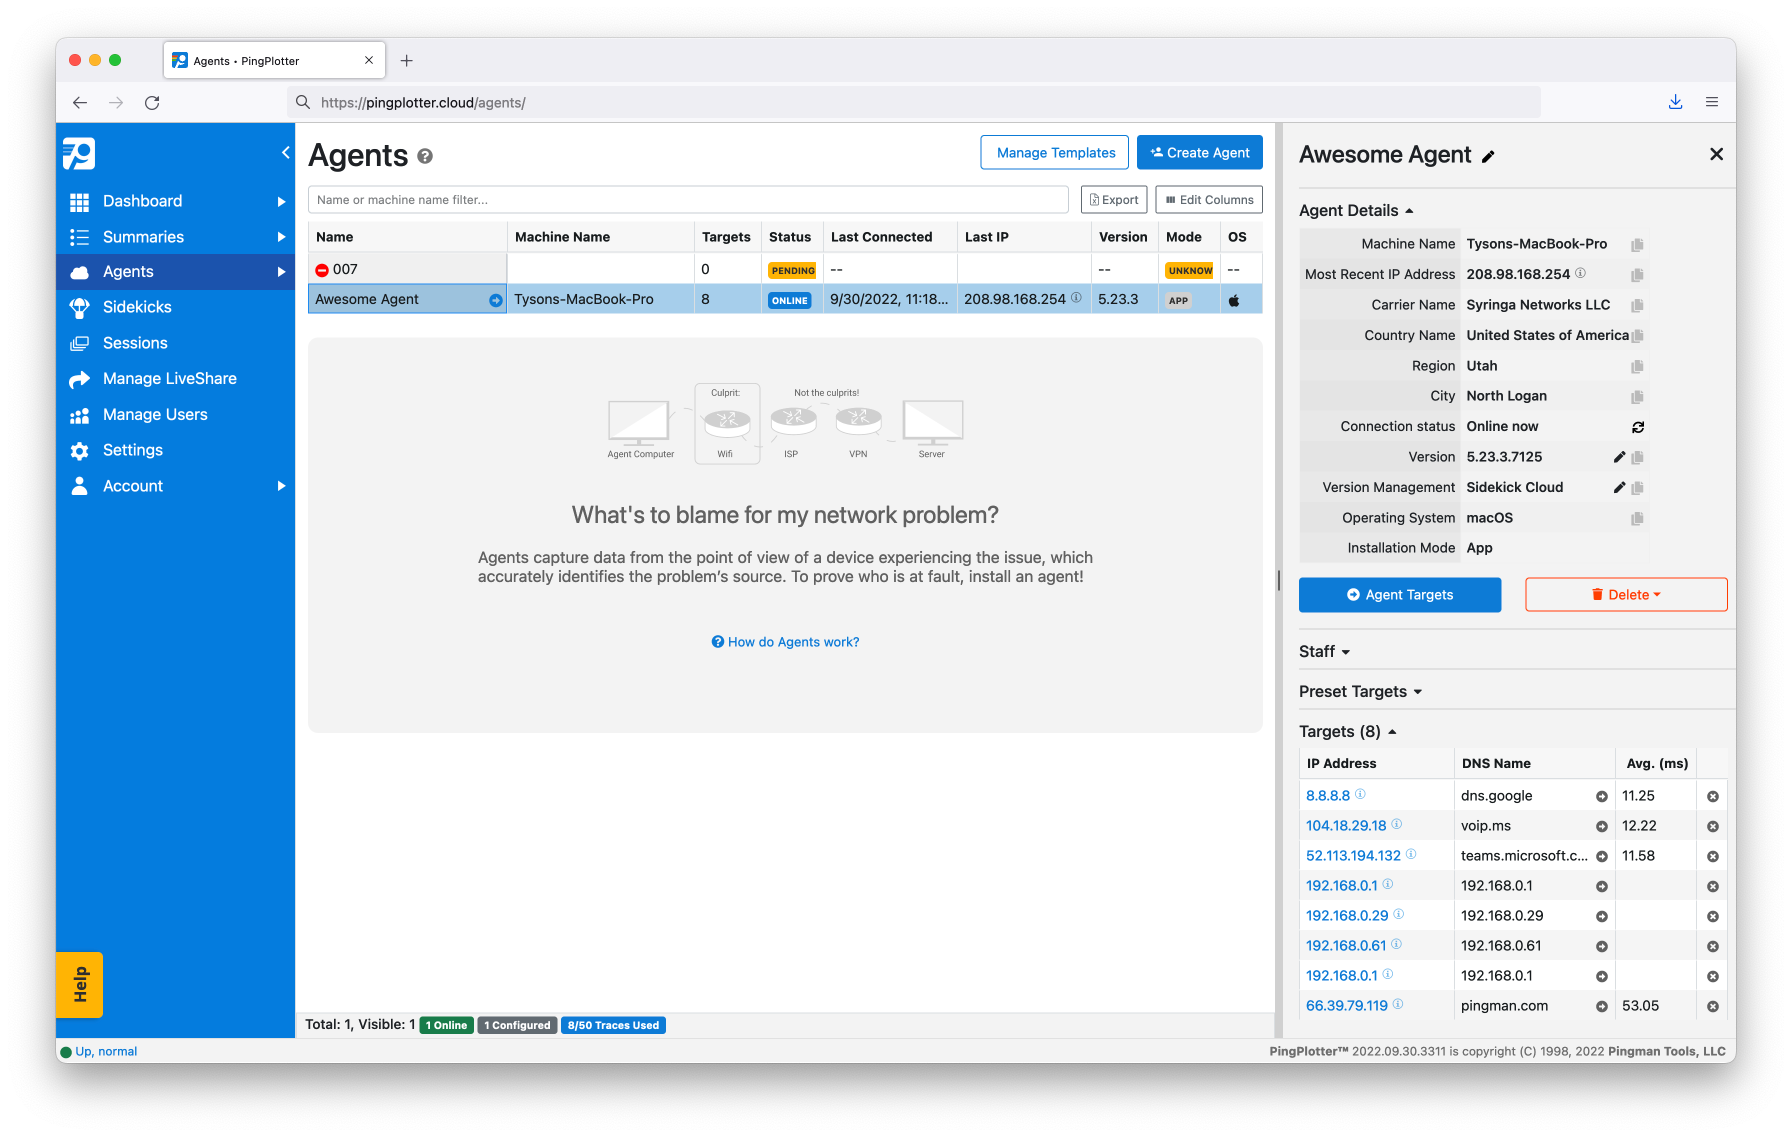
Clicking on an Agent row will reveal the list of its trace sessions and allow you to Reconnect, Rename, or Delete the Agent.
You can create a new Agent by clicking on the Create Agent button at the top of the screen. After naming the Agent, you will have the option to deploy or activate it:
- View Guided Installation — If you do not have PingPlotter installed on the Agent device, this link will take you to a webpage where you can download a customized installer. You can either download the installer and distribute it to the Agent device or share the URL and download the installer directly.
- Auto Setup Link — If the Agent device already has PingPlotter installed, click on the "Already have PingPlotter installed?" link. This will provide you with an Auto Setup Link. Open this link in a browser on the Agent device and PingPlotter will do the rest.
- Reconnect — If you're having issue with your Agent, click on the refresh icon ↻ next to Connection status to force the Agent to disconnect from PingPlotter Cloud and subsequently reconnect.
- Rename — Click on the edit icon next to the Agent to give it a new name.
- Delete — Deleting an Agent from PingPlotter Cloud will remove the Agent from your account and invalidate the URL for the Agent download page. In addition, its configuration link will cease to function. This means that you'll no longer be able to use the Installer or Auto-Setup link to activate new Agents and will no longer receive data from existing installations. If the Agent is online, you also have the option to uninstall the Agent from the remote device.